Getting Started
Welcome to GitNotebooks! Before diving into the installation process, we recommend checking out our demo pull request. This allows you to try GitNotebooks without setting up a repository or installing the app. 👉 Try our demo pull request
Installation
Getting GitNotebooks up and running is quick and easy. Follow these simple steps:
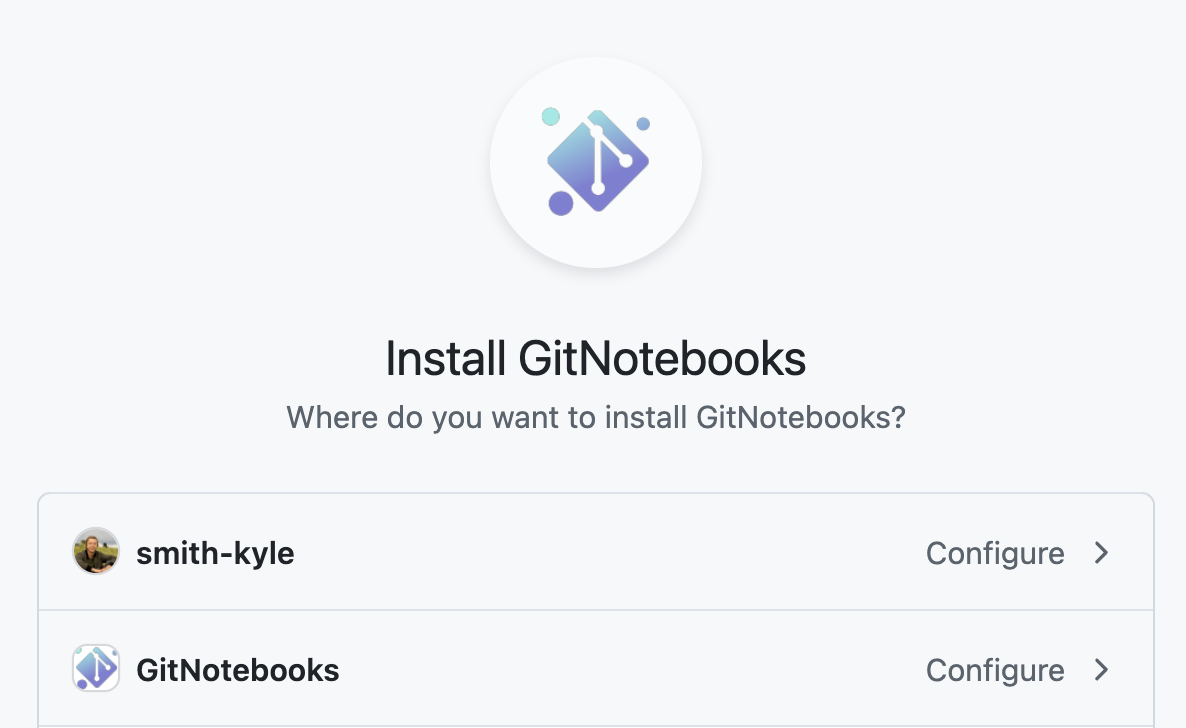
- Sign in to the GitNotebooks dashboard
- Click
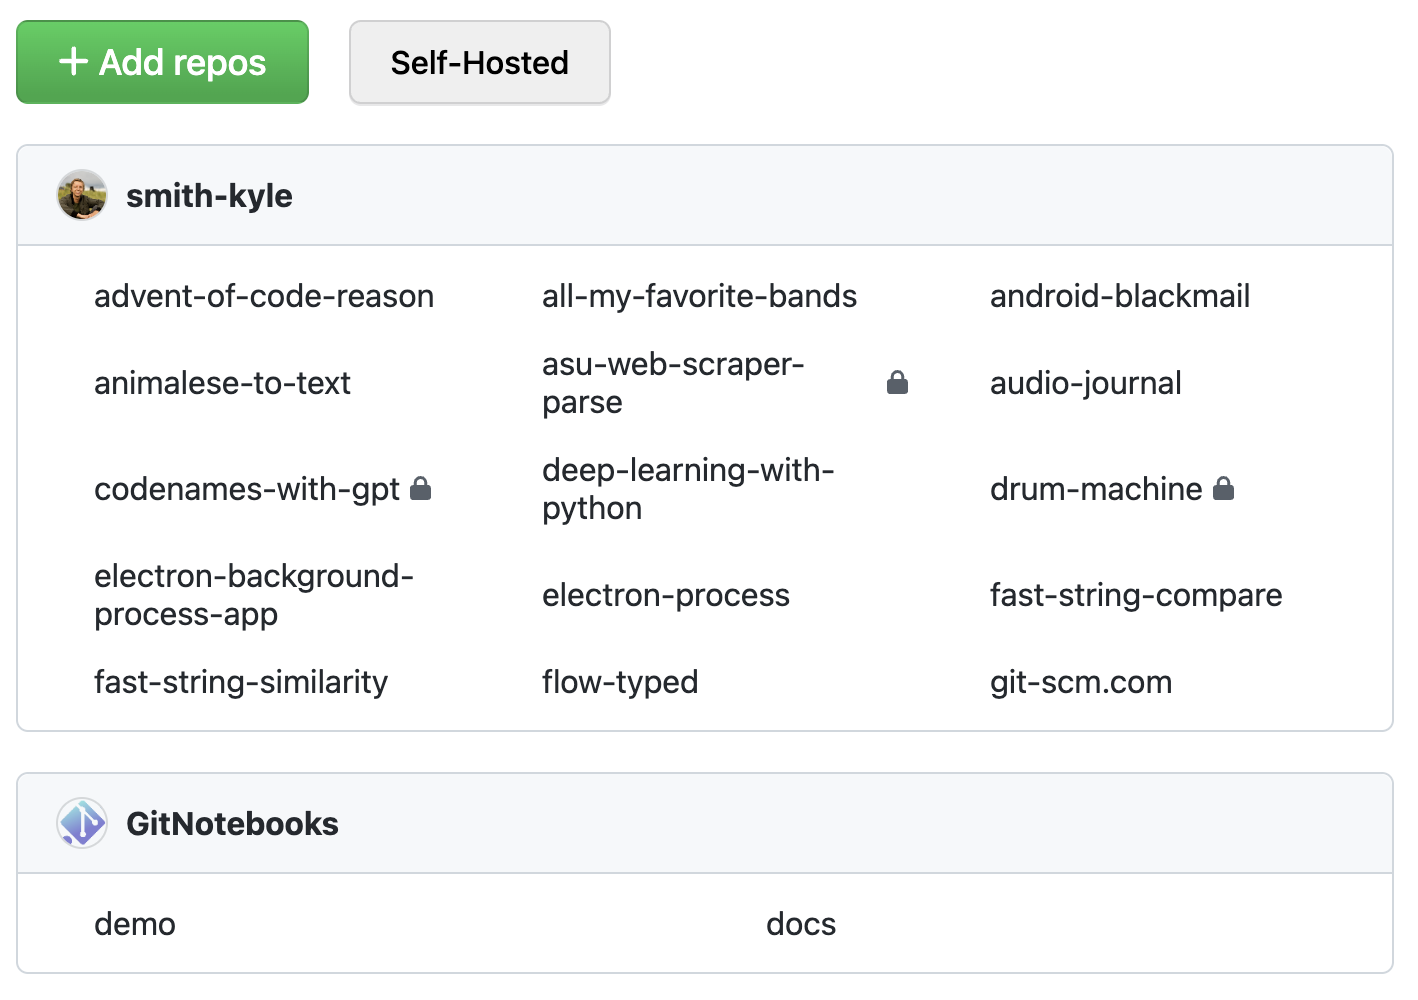
Add Repo - Select the repositories
Sign in

Add Repo

Select Repos
Start Reviewing
The entire process takes about a minute!
Can't install GitNotebooks in your GitHub Organization?
You may not have the required permissions to install GitNotebooks. You can ask your GitHub Organization admin to install GitNotebooks or request a self-hosted version.
Review a Notebook
Now that you've installed GitNotebooks, you're ready to start reviewing notebooks. Our Reviewing a Notebook guide will walk you through the process, showing you how to open pull requests, and make comments on both code and markdown.
Questions or Feedback
We're here to help! If you need support or have any questions, feel free to reach out to us at support@gitnotebooks.com. You can also post an issue to our public repository for feature requests or bug reports.